Highlighters have become super popular in the makeup world recently, with social media filling up with sparkle emojis and new highlight releases getting a whole new level of attention (ever heard of BECCA’s Champagne Pop? Exactly). However, if you’re relatively new to highlighter, you may be wondering what all the fuss is about.
No worries – just check out our handy guide to highlighters and we’ll help you figure out exactly what type suits you, and where to apply it. Let’s go!
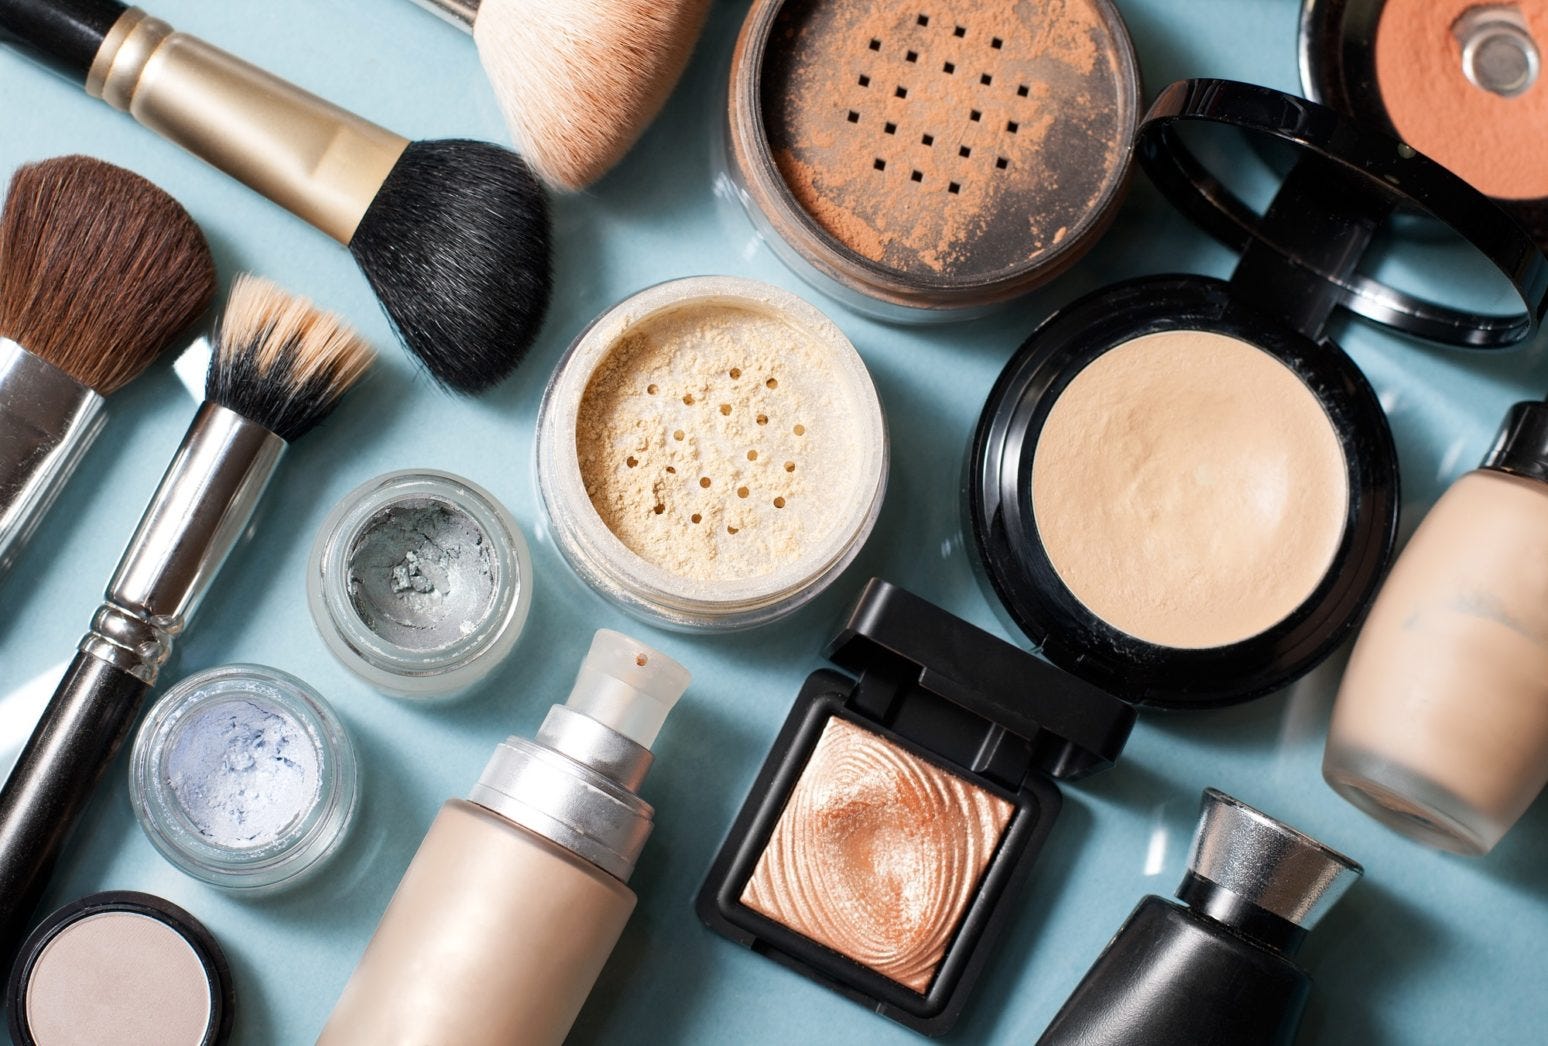
Choosing a formula
As a rule, highlighters tend to come in three different formulas, just like blush: liquid, cream and powder.
Liquid tends to be more lightweight, which means you can either use it underneath foundation for a subtle back-lit glow or even mixed in with your foundation for a naturally dewy effect. As it can give a more subtle effect, liquid highlighter suits all skin types, but it works particularly well on drier or mature skins to give the most natural look without drawing attention to dry patches or fine lines.
Cream highlighters also work brilliantly with drier skin types, especially when paired with cream blush formulas, as they can give a juicy, luminescent finish when used together. When it comes to levels of shimmer, it depends on which product you choose, but generally cream highlighters tend to fall somewhere between the sheerer liquid highlighters and high-shine pressed powders.
Finally, whether they’re pressed or loose, powder highlighters tend to have the highest level of shimmer and shine, so if that’s your thing then powder should be your choice of formula. Powders tend to work very well on oily or combination skin, as liquid and cream formulas can slide off oilier complexions.
Choosing a colour
Now you’ve found the formula that works best for your skin type, which colour should you choose?
Pale to fair skins can get away with soft pink highlighters without looking ashy or unnatural – just make sure you either pick icy blue-based shades or delicate peachy-pinks depending on your undertone. Very pale skin can also rock pearly whites and opal shades.
Fair to medium ladies have the largest choice, as highlighters are usually pale in nature, so you should take advantage of this! Choose vanilla, light gold or champagne shades for the most naturally flattering look.
Olive complexions look fantastic with rose gold and bronze shades of highlighter, so why not try a palette-style highlight that combines these shades? Swirl them together and apply on the cheekbone (see below) for a flattering all-over glow.
Darker skintones look fantastic with deep yellow golds, as pinker tones can cast as grey on dark skins. If you have a deeper skintone but cool undertones, try a sheerer gold that is mostly shimmer to avoid adding any extra colour and just highlight your high points.
Where to apply
Now, the million dollar question – where to actually apply your beautiful new highlighter?
Traditionally, your highlight should be applied to the high points of your face, where you’d naturally shine if you caught the sun. For beginners, that means applying on the tops of your cheekbones, under your eyebrow on the brow bone, and on your Cupid’s Bow (which has the added bonus of making your lips look fuller!). If you’re going to be showing some skin, applying a little to your collarbones can give a beautiful effect to.
These days, thanks to the rise of strobing and contouring, beauty lovers are also using their highlighters down the bridge and on the tip of the nose, in the centre of the forehead and on their chin for a ‘lifting’ effect that can look fantastic when paired with contouring. However, we’d recommend steering clear of very shimmery or shiny highlighters if you’re going to be doing this, as it can make you look greasy rather than glowy. Choose a more matte formula for these areas and go all-out shimmer for your cheekbones and Cupid’s Bow for a clever two-layer effect that’ll have you looking like a glowing goddess.
Looking for your perfect highlight? Take a look at the Makeup in our Build Your Own selection!
